Wheel Coating Application: Pro Tips for Even Coverage
Wheel coating separates a quick clean from a professional finish that holds up through heat, brake dust, and winter slush. Anyone who has tried to ceramic coat a complex wheel knows how unforgiving the geometry can be. Faces lure you into complacency while barrels, spokes, and behind-the-spoke pockets remind you that gravity and tight clearances win without a plan. Even coverage is not an accident, it is a workflow, a sequence, and a feel for what the coating is doing on metal that is hotter and dirtier than body panels ever are.
I have seen wheels ruin an otherwise excellent detail. Too much product turns gummy at the lug wells. Not enough product and the brake dust bites in three weeks. The following techniques distill years of car detailing and mobile detailing work across daily drivers, track cars, and a few stubborn RV and marine applications where heat, salt, and waterline grime test every claim on a label.
The stakes with wheel coating
Wheels endure heat cycling that most coatings never face on paint. A front rotor can hit several hundred degrees during spirited driving, which means the barrel and inner spokes live in a chimney of heat and iron. Add damp commutes, road grime, and winter brine, and you have the perfect environment for staining. The right wheel coating, applied well, changes the weekly wash from a 40-minute scrub to a 10-minute rinse and mitt glide. More importantly, it reduces etching that creeps under clear coat, a repair that costs far more than a proper coating session.
Ceramic coating on wheels behaves a little differently than on paint. It flashes faster on warm metal and clings in odd ways on textured or machined finishes. If you come from paint correction, you have to recalibrate your timing and your sections. The reward is big: an even, glassy shell that sheds dust and resists tar, and a look that stays crisp longer than waxes or sealants ever did.
Prep is eighty percent of the result
When someone complains about streaks or patchiness after wheel coating, the autopsy often starts at prep. Wheels hide contamination in seams, center caps, and valve stems. If you skip any step, the coating has to fight embedded dirt or leftover chemical film, and it loses.
Start with a full decontamination wash. I prefer a strong, pH-balanced wheel cleaner that loosens iron from the barrel, followed by a dedicated iron remover to ferret out the stubborn particles. If the wheels are neglected, a second iron pass is worth the extra minutes. Tar spots need a solvent-based remover, applied sparingly to avoid swelling plastic center caps. Rinse thoroughly, then move to mechanical decon. A fine-grade clay mitt on the face and a traditional clay bar for tight areas will free anything still bonded.
Once clean, inspect the clear coat. Micro-marring, water spots, and light swirls show clearly on gloss black and machined faces. This is where paint correction skills cross over. A small 2 to 3 inch polishing setup on a cordless tool lets you refine spokes and lips. On sensitive finishes like matte or satin, skip machine polish and stick to a hand-applied cleanser designed for matte surfaces to avoid polishing the sheen into a semi-gloss.
A final solvent wipe is non-negotiable. Isopropyl alcohol diluted appropriately or a coating manufacturer’s panel prep removes polishing oils. Do not rush this. Residual oils cause rainbowing and patchy cure. Wipe once, rotate to a fresh towel side, and wipe again. If the wheel has a complex mesh, blow out crevices with compressed air so panel prep does not hide in corners and weep later onto a fresh coat.
Picking a wheel coating that matches the job
Not all ceramic coating products handle heat and contaminants equally. Look for coatings rated for high temperatures, with explicit wheel or caliper use in mind. These formulas tend to flash quicker and form a more heat-tolerant shell. If a client track-days the car or does heavy towing with an RV, the extra durability makes sense. For a garaged weekend car, a more forgiving coating can be easier to level, trading a bit of longevity for user friendliness.
Gloss or matte matters. Gloss coatings often deepen color and highlight metallic content, great for silver or painted wheels. For matte or satin finishes, pick a specific matte-safe wheel coating that will not add sheen. If the wheel has raw aluminum lips or polished bare metal, tread carefully. Those surfaces oxidize quickly and may need a different plan, sometimes a dedicated metal sealant or a coating approved for bare metal after a thorough polish.
Application tools matter as much as chemistry. I keep foam block applicators with short-pile suede, microfiber applicator pucks for barrels, a soft detail brush for complex mesh, and several short-handle swabs for lug bores and valve stem bases. If the wheel has sharp edges, I tape the edges of my foam block to prevent shredding and linting.

Temperature, humidity, and timing
The same bottle behaves differently on a July afternoon versus a cool, dry morning. Target a working temperature where the metal is cool to the touch. If the car just came in, fans and shade help, but patience is better. Hot wheels flash the coating before you can level it, creating patchy high spots. Cold wheels slow the flash and can tempt over-application.
Humidity affects the rainbowing cue. In higher humidity, the flash window narrows. On a humid 80-degree day, you might need to level in 20 to 40 seconds. On a dry, cool day, a minute or more is possible. Watch the surface, not the clock. The coating will slick from wet to slightly tacky, then show a faint rainbow or haze at the edges. That is your sign to level.
A working sequence that prevents misses
Many techs attack wheels in random patterns and chase spots afterward. That is how you end up with double layers on one spoke and none behind the next. Build a sequence and stick to it. My default on multi-spoke wheels:
- Barrels first, then spoke backs, then spoke faces, then the outer lip. Level each zone before moving on.
This single list is deliberate and keeps the article within the limit. The order matters for two reasons. Gravity pulls product toward the lip, so you do not want fresh lip coating catching drips from the barrel. And the barrel and spoke backs are the dirtiest and most heat-soaked areas, so they deserve your full focus while the applicator is fresh.
For the barrel, a microfiber applicator puck fits the curve and carries more product without dripping. Load it generously on the first round to prime the foam. Work in overlapping arcs, about a quarter of the barrel at a time. On deep barrels, roll the wheel gently by hand to bring the next quadrant to you. Watch for inner welds and seam shelves, these gulp product and can pool. Level with a dedicated short-pile towel that you change often to avoid re-depositing excess.
Spoke backs are where even coverage usually dies. A slim suede-wrapped block or a soft brush loaded with a few drops helps you reach the recesses. Paint the product onto the back edge of each spoke, then connect those strokes along the inner junction near the hub. Keep your lighting low and raked to highlight wet edges. Leveling here is more of a pat-and-drag than a wipe to avoid yanking product from tight corners.
Faces feel easy after that. Switch to a small foam block with fresh suede, apply in straight lines from hub to lip on each spoke, then cross-hatch lightly. Do not let the coating ride up on the tape of wheel weights or under the edge of center caps. Level in the same spoke order. Finish with the outer lip, which collects fingerprints and any stray sling from prior steps.
Lug wells and valve stems are small but public. A short-handle micro swab lightly dampened with coating is enough. Do not saturate or you will create gummy rings. After 30 to 45 seconds, dab with a clean swab or the corner of your towel to level.
Managing edges and high spots
High spots happen where excess product sits and finishes with a deeper, sometimes rainbowed look. On gloss black wheels, they show like smudges in the sun. The fix within the first hour is simple: a drop or two of coating on a microfiber towel, then feather over the high spot to re-wet and level. If the spot has started to cure, a gentle finishing polish on a foam pad, then a new coating pass, usually blends it out.
Edges behave like speed bumps. Foam applicators ride up and leave thin lines of heavy product. Reduce pressure and let the suede do the work. On sharply machined edges, a quick dry pass with a second towel right after leveling prevents that buildup line. Always keep two leveling towels in hand, one slightly damp from prior use for the first sweep, one dry and fresh for a final kiss. Rotate both often. Towels with absorbed coating begin to grab, and that drag creates streaks.
A note on finishes: gloss, matte, machined, and textured
Gloss painted wheels are the most forgiving. You can see the flash, and leveling cues are obvious. Matte or satin finishes punish heavy hands. Use a matte-safe coating, apply less product, and level sooner. You are not chasing a wet glass look, you are preserving that velvet surface while adding repellency. If you see the sheen deepening, you are too heavy.
Machined faces with clear-coated pockets need a light, even application. Too much at the transition between machined lip and painted pockets can gather and dry as a halo. Work smaller sections and cut your dwell time. Textured wheels, common on off-road vehicles and some RV detailing jobs, hold product in the valleys. Load less product and use a short-nap microfiber applicator, not suede, so you massage coating into the texture without leaving pools.
Time between coats and the case for one-and-done
Some wheel coatings allow or recommend a second coat. A second pass can deepen gloss and add margin for wear, but only if you respect the manufacturer’s windows. I prefer a single, thorough layer on most daily drivers, then a topper spray coating after full cure if I want extra slickness. On performance cars or clients who never touch their wheels between services, a second coat can be justified. Let the first layer set per the label, often 60 to 90 minutes, then repeat the same sequence. If the product requires 12 hours between coats, set expectations and secure indoor space.
Heat cycling and early maintenance
After application, protect the wheels from water for at least the first 12 to 24 hours. If weather threatens, move the car or tent the wheels to keep dew and sprinklers off. Avoid drives that involve heavy braking for 48 hours. Early heat shock can mar or cloud a fresh coating. A gentle shakedown drive after the first day is fine, but save canyon runs for the weekend.
The first wash sets the tone. Use a pH-neutral shampoo, a dedicated wheel mitt, and low-pressure rinse. You will know you nailed the coverage if the barrel and spoke backs shed brake dust with a rinse and a light pass. If you see stubborn patches, mark them mentally for a maintenance topper after the wash. Do not panic and start scrubbing with harsh chemicals. The beauty of a good wheel coating is that even “stuck” dust is usually sitting on the surface and releases with lubrication.
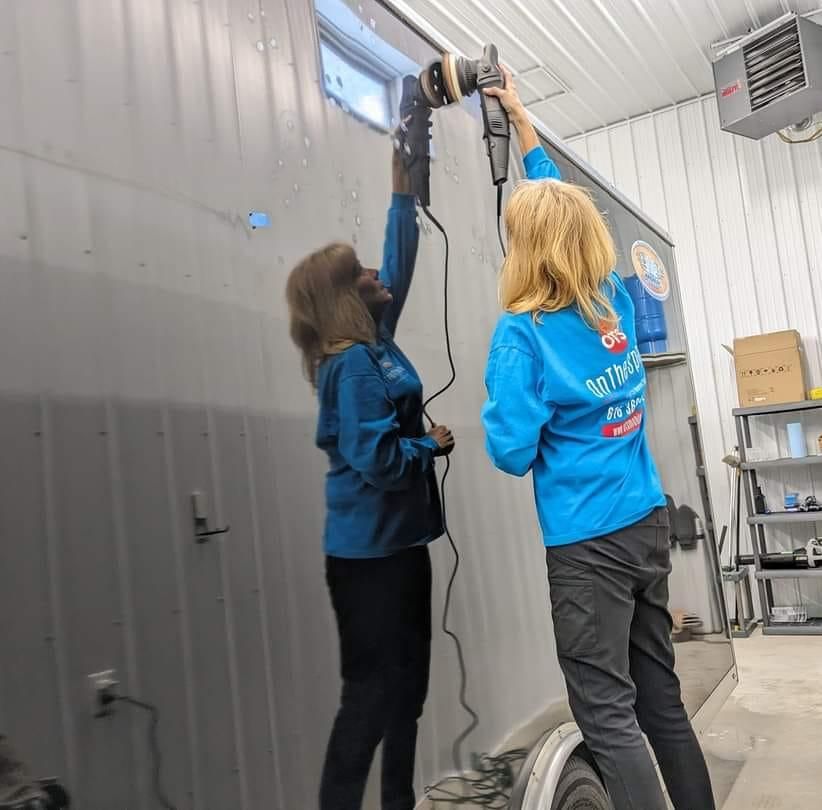
Lessons from the field: On the Spot Mobile Detailers approach
When we handle wheel coating through On the Spot Mobile Detailers, the setup matters as much as the technique. Working as a mobile detailing team means fighting sun angles and shifting humidity. We park to give consistent shade, get fans moving to keep the flash window predictable, and stage each wheel with its own labeled towels and applicators. That staging prevents cross-contamination from a dirtier wheel to a cleaner one, a small habit that pays dividends in even finishes.
We also carry small foam wedges cut from larger blocks. On complex split five-spokes or tight mesh designs, those wedges slip behind the spoke with precision, leaving no uncoated sliver. The result is even coverage not just on the pretty face, but in the recesses that tend to hold onto brake dust. Clients notice six weeks later when the inner spoke cleans as easily as the lip.
Troubleshooting the common problems
Rainbow sheens that will not level often come from residual oils. If that happens, step back, wipe the area with panel prep, and reapply a light amount. Do not chase it with more product on top. If you see tiny fish-eyes, you likely have silicone contamination from a prior dressing. A more aggressive panel prep or a quick polish of the area will usually correct it before re-coating.
Streaks that only show in sunlight are usually high spots. Inspect with raking light and the sun before declaring the job done. A cheap headlamp or a color-matching light aimed low across the face picks up streaks you miss from straight on. If you find one within an hour, a light re-wet and level is adequate. After a day, you may need a gentle polish.
Uneven beading a week later often points to missed zones on the barrel or spoke backs. It is not the end of the world. Clean the wheels thoroughly, dry, and use a spray ceramic designed as a topper to even out the hydrophobics. That will not match the durability of the base layer but improves maintenance between full corrections.
Integrating wheel coating with broader detailing work
A full service rarely stops at the wheels. Paint correction sets the stage for ceramic paint correction otsmobile.com coating on body panels, while interior coating on high-touch surfaces keeps steering wheels and door cards clean. Headlight restoration changes a car’s presence at night and removes hazy eyes that undercut a fresh exterior. If you are already invested in car detailing across the vehicle, wheel coating is a logical extension. The hydrophobic balance between paint and wheels matters to wash rhythm. If the wheels are slicker than the paint, you can push contamination onto the panels during rinse. If both are coated, the wash becomes controlled, quick, and safer for the finish.
Marine detailing and RV detailing bring their own curveballs. Boat trailer wheels bathe in salt and sit for long stretches. An appropriate wheel coating beats traditional sealants here, provided you prep thoroughly and respect cure time before submersion. RV aluminum wheels often have a mix of polished lips and coated centers. Separate the surfaces in your mind and your workflow. Do not put a wheel-only ceramic on a raw polished lip unless the manufacturer allows it, or you risk haze under the coating.
Environmental and safety details that get overlooked
Wheel cleaners, iron removers, and solvents are tough on skin and lungs. Gloves and good ventilation are not optional when you spend hours on a set of four. Knee pads and a rolling stool keep your posture safe and your hands steadier, which translates directly into smoother, more even application. Bright, soft lighting avoids glare; a single harsh overhead light hides high spots by washing everything in shine.
Disposal matters. Suede applicators and towels with cured ceramic harden as they dry and can scratch if they sneak back into your wash pile. Keep a designated bin for anything that has touched coating. After curing, those towels become shop rags for non-paint tasks only.
A two-minute field checklist for even coverage
- Confirm temperature and humidity, and cool the wheels to the touch before starting.
- Stage dedicated applicators and leveling towels per wheel, plus swabs for lug wells.
- Work barrel, spoke backs, faces, then lip, leveling each zone before moving on.
- Monitor flash visually and by feel, adjust dwell time to the day, not the label alone.
- Inspect under raking light from multiple angles, correct high spots immediately.
These five touches prevent ninety percent of uneven results and keep the session moving without backtracking. A short pause between each wheel to reassess towel condition and product behavior saves time in the end.
When a second day elevates the job
On heavily soiled or complex wheels, compressing everything into one marathon can degrade quality. Spinning your wheels, literally and figuratively, invites mistakes. On some projects, especially multi-piece wheels with exposed hardware, we split the work. Day one handles decon and correction. Day two brings the coating when the wheels, shop, and techs are fresh. The extra downtime also allows any trapped moisture to evaporate completely, eliminating the occasional weep that trails a cured coating.
What On the Spot Mobile Detailers learned from the tricky sets
Certain wheels teach humility. One client brought in a satin bronze set with deep, triangulated pockets that resisted every typical move. Our first pass looked fine indoors, but sunlight revealed a faint mottling where product pooled in microvalleys. We adjusted by switching to a matte-specific wheel coating, cut product load by a third, and leveled faster with a firmer towel. The second run delivered a uniform satin that beaded without changing the finish. The takeaway was clear: finishes drive technique, not the other way around.
Another case involved a daily-driven SUV that saw winter brine and automatic washes. The wheel faces were straightforward, but the barrels were sandblasted from grit. A quick gloss polish would not have stuck. We invested the extra hour to refine the barrel with a fine cut on a 2-inch pad, then used a high-temp wheel coating rated for calipers. Six months later, the barrels still rinsed clean. Those results came from respecting surface condition rather than applying the same routine everywhere, a principle we follow consistently at On the Spot Mobile Detailers.
How to keep the coated look month after month
Maintenance is simple if you own the right habits. Avoid strong acids or high-alkaline cleaners unless contamination is severe. A pH-neutral shampoo and a soft wheel brush protect the coating. If you want to boost slickness, a compatible spray ceramic every four to six weeks extends that just-coated feel without building the kind of gummy film that attracts dust. Dry your wheels after washing. Water that bakes on the next drive can spot any surface, coated or not.
If tar or heavy iron returns, use targeted products sparingly and rinse promptly. Aggressive chemicals will not instantly strip a cured coating, but repeated exposure shortens its life. Think of them as spot treatments, not regular wash steps. When the beading slows or the rinse no longer sheds easily, plan a refresh. A thorough clean and a topper may restore performance. If the finish looks tired or contamination has etched the clear, pull the wheels again and repeat the full cycle with polish and a fresh coat.
The craft behind even coverage
Even coverage is not a mystery once you break it down. Clean deeper than you think you need to. Choose chemistry that matches heat and finish. Control your environment, then follow a consistent sequence that respects gravity and geometry. Read the flash, not the label’s time, and keep your towels fresh. Inspect with low, honest light, and fix small issues before they set.
Wheel coating sits at the crossroads of paint correction discipline and the realities of brake dust and heat. The attention you give to barrels and spoke backs pays back every time you rinse. The car presents better, maintenance time shrinks, and the finish resists the kind of long-term damage that forces expensive repairs. Whether you are detailing your own car in the garage or running a professional setup like On the Spot Mobile Detailers, the principles stay the same. Respect the prep, work a plan, and let the coating do what it does best.