Just How to Secure Walls and Door Frames During a Move
How to Protect Walls and Door Frames During a Move
If you have ever walked through a house after a move and noticed scuffed corners, dented drywall, or bruised door jambs, you know wall protection is not a nice-to-have. It is the difference between handing over keys with confidence and spending a weekend patching, sanding, and repainting trim you never meant to touch. I have watched careful people scratch a door case with one careless pivot. I have also seen a 300‑pound armoire leave a hallway clean because the route was planned and protected, and because the crew moved as a coordinated unit. The difference almost always comes down to preparation and simple, consistent habits.
This guide lays out what professionals do to keep walls and door frames safe, and how you can apply those practices at home. The tips work whether you are moving yourself or supervising a crew, in a one‑bedroom apartment or a two‑story house with tight turns and stairs.
Why walls and door frames take the hits
Walls and trims sit exactly where your hands, hips, furniture edges, and dolly wheels travel. Most interior walls are drywall over soft studs. Door frames are often pine or MDF, primed and painted, which does not tolerate abrasion. During a move, people are tired, the clock is ticking, and heavy items want to swing. That combination creates contact points at the same spots every time: hallway corners, stairway newel posts, the strike side of door frames, and the narrow turn from a bedroom into a hall.
Height matters too. A tall dresser tends to tip toward the ceiling or away from the carry crew on stairs, and the high corner clips a wall at shoulder height. Sofas rake along baseboards when the carry team lowers for a rest. Even cardboard boxes can burnish paint if you slide them along a wall.
A Perfect Mover Moving and Storage Service trains crews to assume any bare corner will get bumped unless it is protected. That mindset changes how you prep the site. Before a single box moves, you create a padded pathway.
Materials that work, and the ones that do not
You do not need a truckload of specialty gear to protect walls, but the right materials make your life easier and your home safer.

- Corner guards and jamb protectors: Reusable plastic or heavy cardboard guards for hall corners and door frames. They slip on and off in seconds and take the brunt of glancing blows. Pros keep multiple sets to leapfrog across the house.
- Moving blankets and clean tape: Thick textile pads wrap around banisters, protruding rail ends, and tight turns. Painter’s tape or stretch wrap holds blankets in place without leaving residue.
- Painter’s tape and kraft paper: For light-duty coverage on flat wall sections or around a thermostat or smart panel, run a width of paper held with painter’s tape. This reduces scuffs from boxes.
- Ram board or corrugated sheets: Floor protection helps walls too because it stabilizes your footing and allows dollies to roll straight, reducing side sway into walls.
- Stretch wrap: Clings to itself, so you can secure pads around furniture edges without adhesives.
Avoid improvised solutions that transfer color or leave a mess. Newspaper ink will print onto paint. Duct tape pulls finish off trim. Plastic sheeting alone is too slick and tears easily. A blanket plus stretch wrap offers better impact resistance and grip.
Plan the path before the lift
The most reliable way to save your walls is to reduce surprises. Stand in each room you are about to empty and map the route to the door, then to the truck. Remove artwork, mirrors, and wall shelves along that path. Take a minute to unscrew coat hooks, floating shelves, or baby gates that stick out into the line of travel. Make entry doors as wide as possible by popping hinge pins and removing the slab if you have a very large item. For interior doors, remove the door stops on the hinge side if needed, then replace them when finished.
Mark problem spots. On a recent two‑story job with a low landing and a sharp left into the master bedroom, we taped a floor‑to‑ceiling blanket on the outside wall at the turn and added a jamb protector around the door. Every tall piece brushed that shield. Zero wall marks in a home with fresh white paint.
Measure twice. Furniture that barely clears on width can still jam because of height or diagonal depth. A 36‑inch doorway does not mean a 36‑inch dresser fits if the legs and top edge cannot rotate in the available space. If you have any doubt, disassemble or remove legs and hardware first rather than mid‑move with your knee against the trim.
Wrapping furniture correctly reduces wall contact
Bare wood and metal are unforgiving against paint. Your first layer of protection lives on the item, not the home.
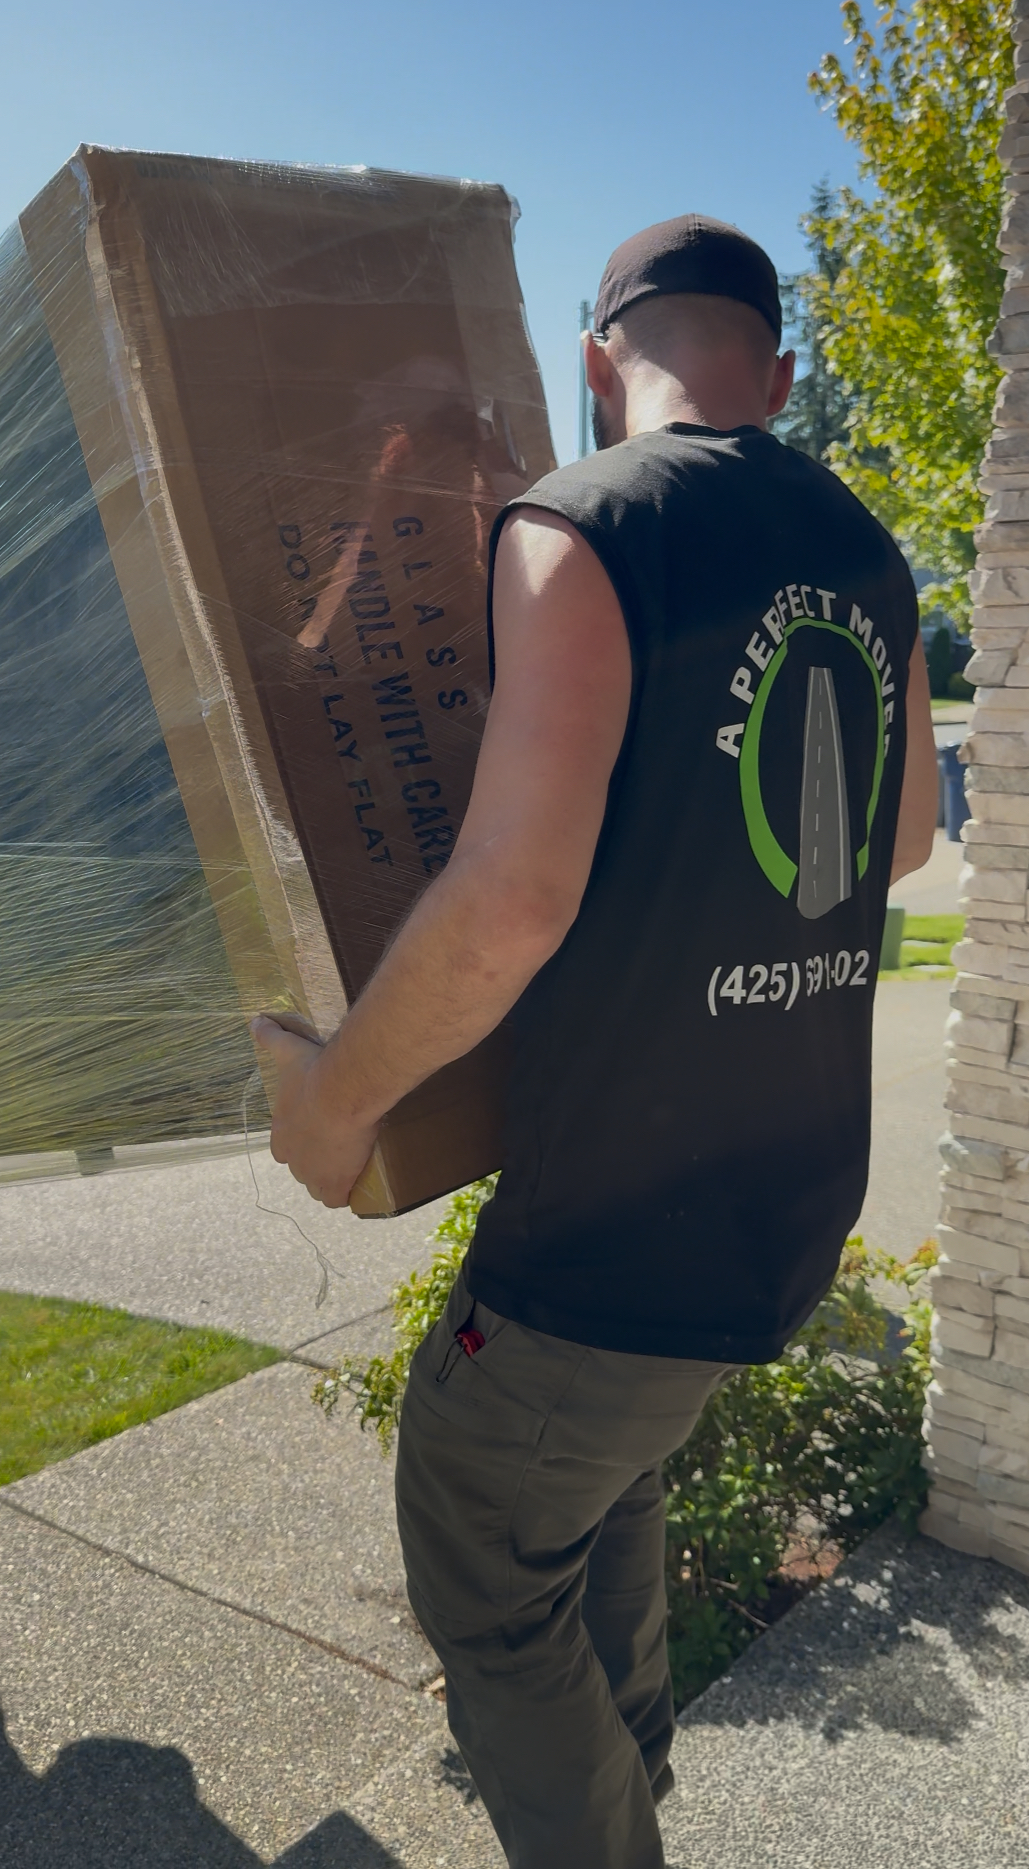
Wrap tall case pieces on the edges that will lead through doors and around corners. Guard the top corners, because those are the ones that sweep walls when you pivot. Place one moving blanket folded thick on each top corner and secure with stretch wrap all the way around. For sharp metal bed frames and rails, use foam edge guards or a folded blanket taped in place. Glass curio cabinets need pads on the body and cardboard corner caps under the pads to spread any impact.
On sofas, wrap the arms and back edge. Those curves look soft, but the internal frame can dent drywall. A full blanket wrap keeps fabric clean and protects your walls as you slide and rotate in tight spaces.
A Perfect Mover Moving and Storage Service sets a rule on any job with tight hallways: no unpadded hard edges leave the room. It is slower upfront and much faster later when you are not stopping to inspect a scuff or reset a pad that slipped.
Carry techniques that spare the paint
Even with protection in place, how you carry items determines whether they swing, scrape, or glide through cleanly.
Keep items high and tight on stairs. The person at the low end sets pace and calls adjustments, the person at the high end controls tilt so the top corners do not drift into walls. Use steady steps, not lunges. A short pause halfway through a pivot lets everyone reset their foot placement and handholds before clearing a jamb.
Wide items move best when you rotate at your hips, not with arm swings that arc the far corner toward a wall. For dressers and chests, use the bear hug approach on the narrow side, and tilt only as much as needed to clear the load off the floor.
Use a shoulder dolly or lifting straps for tall items. These transfer weight to your legs and keep the object stable and vertical, so you do not lean into walls. On very heavy items, a four‑wheel dolly is safer, but only if the route is straight and floors are protected. When you must pivot a dolly at a doorway, lift the leading edge slightly to avoid scraping baseboards.
Hands talk. The best crews narrate moves aloud. Short calls like high end left, stopping, or corner clear keep everyone aligned and help avoid last‑second wall taps.
Door frames are the pinch points
Door jambs catch more damage than flat walls. The strike side, where the latch meets the plate, often shows gouges from metal bed rails, appliance corners, or the lip of a tool chest. Protect the full width and height of the jamb, not just the center. Plastic jamb guards that clip over the trim distribute force and snap off quickly when you are done. In a pinch, two blankets folded long and secured with painter’s tape create a cushioned tunnel.
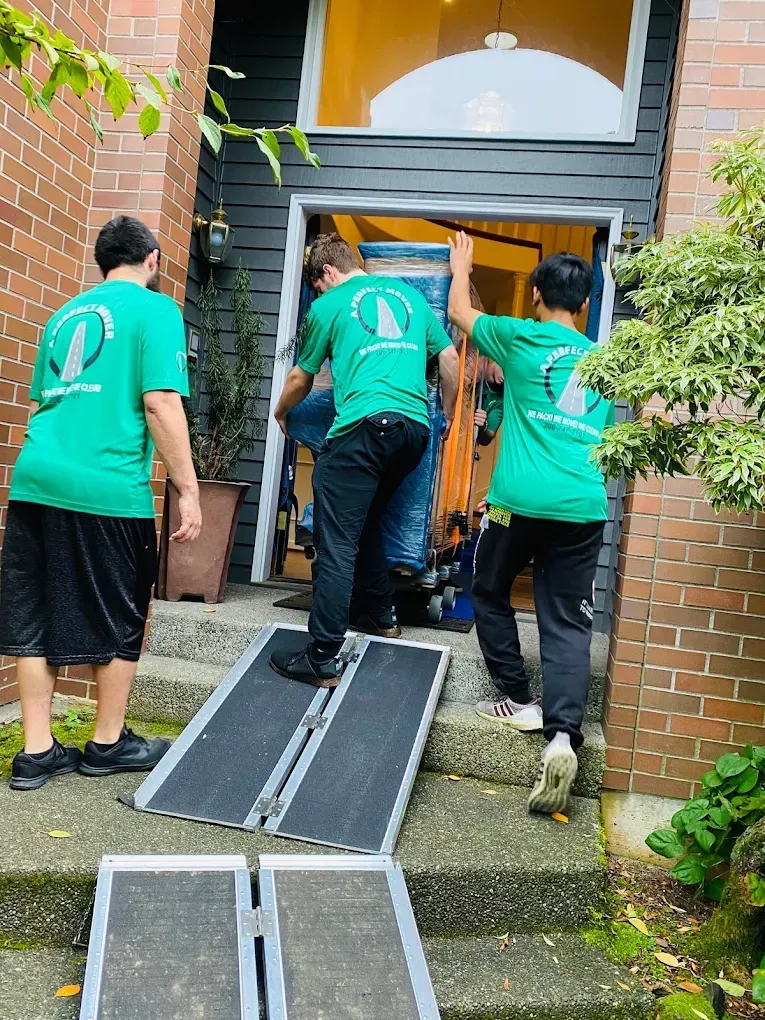
Check hinge screws. Loose hinges let the door sag and the leaf stick out, ready to scrape furniture. Tighten them or remove the slab entirely for more clearance. Do not forget the threshold. Some metal thresholds sit proud of the floor and stop a dolly abruptly. A small plywood ramp taped in place bridges the lip so wheels roll cleanly without a jerk that sends the top edge into the frame.
We learned this the hard way years ago on a rain‑slick morning. An upright freezer met a proud aluminum threshold with just enough bounce to nick a jamb, even with padding in place. Since then, we create micro‑ramps at any threshold over a quarter inch. It takes five minutes and prevents both wall contact and appliance shock.
Stairs, landings, and the geometry of tight turns
Two places make or break a move: the bottom of a staircase with an immediate turn, and an upstairs landing with a baluster rail on one side and a wall on the other. The geometry works against you. A tall piece tilts toward the inside of the turn, and the top corner sweeps a wide arc.
Pad the inside wall from baseboard to above head height at these turns. If a newel post or rail is exposed, wrap it with a blanket and secure it so it cannot unravel mid‑carry. For very tight turns, remove the handrail brackets temporarily. You can reinstall them in minutes, and it buys an inch or two of elbow room that prevents dozens of wall grazes.
Rotate early. Do not walk all the way to the turn then try to swing a large object. Start the twist on the step before the landing so the top clears in a smoother arc. The low person may need to step down one stair to allow the top to swing away from the wall. Talk through it before you lift.
Appliance specifics: why they mark and how to stop it
Refrigerators, washers, and dryers are square, heavy, and often carried on a dolly that wants to track straight even when the path does not. That match can scrape corners if you do not prepare. Wrap appliances with a thick blanket and secure tight. Protect door frames. Use a short strap around the body to keep the blanket from riding up. Tape a strip of cardboard to the leading vertical edges under the blanket to stiffen the protection where it counts.
If the fridge doors come off easily, remove them. That can save a full inch of depth and reduce wobbly moments as you rotate. Unplug and coil cords so they do not snag and yank the body sideways into a wall. For washers, lock the drum or insert transit bolts if you have them. A loose drum makes the machine top heavy, and a top heavy appliance will drift toward walls when you stop or restart your carry.
When disassembly saves paint
There is a point where disassembling furniture takes less time than trying to steer a too‑big item through a too‑small space. Bed frames, headboards, sectional sofas, large desks, and dining tables with removable legs all fall into this category. If a piece fits only with a perfect angle and perfect timing, that perfection tends to fail on the third trip when hands are tired.
Break it down on a clear surface. Bag hardware and tape the bag to a solid section, or use a small parts organizer. Label sections with painter’s tape so you reassemble without guessing. This is one of those moves where your walls and your stress both benefit. A Perfect Mover Moving and Storage Service encourages homeowners to decide disassembly the day before. If a piece is questionable, take it apart while your energy is high instead of wrestling it at the door.
Weather, moisture, and the hidden ways walls get damaged
Rain changes everything. Wet gloves slip, and a slip nudges a dresser corner into paint. Wet blankets get heavier and drag down off the edge they were protecting. Protect walls more aggressively on rainy days, and give yourself time to wipe down furniture as it comes through the door. A quick towel pass removes grit that acts like sandpaper if it rubs a wall.
Humidity also affects tape. Painter’s tape adheres less in damp conditions. Add extra runs of stretch wrap over blankets to keep them secure. Lay more floor protection to keep footwork confident and reduce side sway into walls while stepping around puddles.
The staging habit that keeps routes clear
Damage often happens when someone tries to squeeze past an obstacle because they do not want to set an item down and move something else. Avoid that by staging. Set a clear zone on each side of every doorway. No stacked boxes within eighteen inches of the jambs. Keep tool bags, dollies, and hardware bins well off the path. As items come out of a room, place them in staging areas that do not choke the route for the next carry.
Good staging also reduces fatigue because you make fewer micro‑adjustments while carrying weight. Less fatigue means steadier hands and fewer wall taps.
What to do when a wall does take a hit
Despite best efforts, a move is a dynamic environment. If you clip a wall, moving help seattle pause and assess. Small marks can transfer from furniture finish or dirt to the paint surface. Often, a Magic Eraser or a microfiber cloth with mild cleaner removes the mark without touching the paint itself. For shallow dings, a tiny dab of spackle, a light sand after it dries, and a touchup with matching paint makes it disappear. Deeper gouges with crushed drywall paper need a bit more love: cut away loose paper, seal with a primer that blocks moisture, then spackle in two thin layers before sanding and repainting.
Do not keep carrying heavy items past a repeated problem spot. Add protection there right away, even if you think you are almost done. The last two carries of the day are when most wall hits happen because hands are tired and attention splits.
The quiet value of pre‑move communication
Damage prevention lives in preparation, but it also thrives on simple, clear communication. Walk your crew or helpers through the house before you start. Point to the fresh‑painted hallway, the delicate plaster arch, the skim‑coated corner you do not want to touch. People protect what they notice. Agree on stair calls. Decide who sets the pace and who calls pivots. Place a roll of painter’s tape and a couple blankets at each pinch point so anyone can pad a spot quickly without leaving to dig in the truck.
A Perfect Mover Moving and Storage Service builds this walkthrough into every job. Five minutes of alignment saves an hour of slow improvisation later.
When to call in help
Some homes present challenges that are not worth muscling through without training or extra hands: spiral staircases, third‑floor walkups with narrow switchbacks, heavy antique armoires, built‑ins that almost but not quite fit out a room, or oversized refrigerators in older homes with slim doorways. These are situations where the cost of a wall repair, plus extra time spent struggling, exceeds the cost of professional help.
Experienced crews come with jamb protectors, corner guards, rubber‑wheeled dollies that do not scuff, and a team choreography that keeps large items balanced and away from surfaces. They also know when to remove a door, a banister, or a leg rather than contort around it. Watching a sofa clear a tight corner with two gentle tilts and no contact looks like luck. It is practiced geometry.
A practical, minimal kit for wall and frame protection
If you want a compact setup that covers most homes without overspending, build a kit that you can reuse. Tape a checklist inside the bin lid so you do not forget it on the next move.
- Four reusable plastic jamb protectors and four corner guards.
- Six thick moving blankets and one 1,000‑foot roll of stretch wrap.
- One roll of 2‑inch painter’s tape and a roll of kraft paper.
- Two 4x8 sheets of light corrugated board or ram board, cut in halves.
- A small towel and microfiber cloth for wiping moisture and grit.
Store the kit together so it is the first thing you bring inside. Protect, then move.
Case notes from the field
A second‑floor condo in a building with a narrow, L‑shaped stair and a fresh paint job on the common hallway is a scenario that will test any mover. On a recent Marysville job, the homeowner had already wrapped most furniture but had not considered the stair turn. We added two corner guards at the landing and wrapped the outside stair wall with a blanket secured by painter’s tape at the top and stretch wrap around the newel. We removed the bedroom door at the top to gain an inch and a half. The sectional came apart, and the headboard legs came off. The team moved the largest pieces first, while energy was high and the protection was intact. Not a single scuff in the common area, which kept the HOA happy and the deposit intact.
On another job with a heavy treadmills down a basement with a narrow doorway at the bottom, we used a four‑wheel dolly and ram board to create a stable track, then padded the jamb. The pivot at the bottom was tight, but controlled because the wheels did not sink into carpet or catch on transition strips. The treadmill cleared with a slow, two‑part turn and no wall contact.
These scenarios share a pattern: prep the pinch points, decide on disassembly early, and move the hardest items under the best conditions.
How protection choices change with housing type
Apartments with elevators and long hallways require protectors not only inside your unit but also along the common path. Most buildings require this anyway. Use corner guards at the elevator opening and pads on the interior walls down to your door. Schedule elevator reservations and allow extra time to set and remove protection, especially if there is a move‑in window. For walkups with tight steps, heavier reliance on blankets and removable door slabs pays off.
Single‑family homes often have wider doorways but more stair geometry. Pads and careful carry techniques matter more than paper protection, which tends to peel on the larger surfaces if you rush. Garages with workbenches and tool chests need attention at the door threshold where dolly wheels catch. A short ramp of plywood prevents the jerk that sends a toolbox into a frame.
Protecting walls on the unload
People relax at the new house. That is when damage sneaks in. Keep your protection kit with you until the last item is placed. Pad the new door frames and corners before the first box enters. In an unfamiliar home, sightlines are new, and furniture that cleared your old hallway might meet a tighter one. Do the same quick route plan and staging you did on the load‑out. Set floor protection to keep dollies steady, then remove it only when traffic slows to just a few light boxes.
A Perfect Mover Moving and Storage Service treats the unload as high‑risk for scuffs because helpers are tired and want to finish. Building the habit of re‑protecting the destination pays off.
Painting and finish types that change the risk
High‑gloss trim shows every scratch. Eggshell wall paint hides more, but it can burnish and look shiny where rubbed. Matte finishes hide scuffs better but mark more easily. If you recently painted with a soft, low‑VOC paint, give it as much cure time as possible before moving large pieces along it. Paint can feel dry in hours but needs days to harden. In homes with fresh paint less than 72 hours old, use extra layers of blanket or paper and avoid tape on the paint itself if you can help it. Anchor blankets to door casings, not the wall surface, or use stretch wrap around banisters and posts to hold padding in place.
Teaching helpers the two golden rules
Even if you hire professionals, friends or family often help pack rooms or carry lighter items. Give them two rules so they adopt the same habits.
- Nothing hard moves past a painted corner without padding on either the item or the corner.
- If you feel off balance, stop and reset, even if it means setting the item down and asking for help.
Simple rules are easier to remember under effort. They also give everyone permission to slow down when it matters.
Troubleshooting the classic problem items
Some pieces have a reputation. Knowing how to approach them lowers risk to your walls.
Sectional sofas: Separate every piece you can. Wrap arms and backs. Carry with the L pointed away from walls so the long outside edge clears corners. Rotate sooner than you think you need to.
Tall bookcases and armoires: Pad top corners heavily. Tilt slightly toward the inside of the turn so the outside corner does not sweep wide and tag paint. On stairs, low carrier sets the pace with short steps.
Mattresses: King sizes bend, but they also act like sails. In tight hallways, carry high and keep the bend controlled. A slip can fan the mattress into a wall and leave a broad scuff. A zippered bag gives you grip and protects paint.
Bed rails and metal frames: Wrap ends with foam or a small blanket roll secured by tape. These two‑inch steel corners are responsible for an outsized number of gouges.
Recliners: They seem small until the foot mechanism catches on a jamb. Wrap the footbox and secure the handle side. If it is a wall‑hugger design, lock the back in place or remove it.
Quick pre‑move protection checklist
- Install jamb protectors on exit doors and the tightest interior doorway.
- Tape blankets on stair turns and hallway corners at shoulder height.
- Remove interior door slabs where clearance is marginal.
- Stage clear zones around every doorway, no boxes within eighteen inches.
- Wrap top corners and leading edges of tall furniture and appliances.
The mindset that prevents repairs
Wall and door protection is a system, not a stack of products. When you think in sequences, you solve most problems before they create damage. Pad the path. Wrap the item. Carry with communication. Stage smart. Lower the pace at the known pinch points. Fix small issues the moment you see them rather than after the room is empty.
Crews that move this way leave homes looking untouched even after dozens of trips through the same tight space. That is the goal. You want your move to feel organized and your home to look like you never passed a sofa through the hallway at all.
A Perfect Mover Moving and Storage Service leans on this system every day. It is not complicated, but it is consistent. The tools are simple, the habits are learned, and the results show on the walls that do not need patching when the truck pulls away.