Common Errors to Stay Clear Of in Interlocking Pathway Paving Installment
Interlocking pavers look basic once they are down, however the craft lives in what you can not see. A sidewalk can appear level and limited on the first day, then heave, separate, or gather pools by the very first springtime if the surprise layers are wrong. I have restored stylish paths after a single wintertime since the installer missed 2 wheelbarrows of base rock. I have also seen spending plan jobs stay true for fifteen years due to the fact that the essentials were performed with perseverance. The difference originates from planning, subgrade technique, and respect for water.
Why little errors turn up quickly on walkways
Walkways have lighter tons than driveways, yet they suffer more from foot web traffic patterns, slim geometry, and frequent sides. Individuals step on the exact same strip, snow shovels scrape the exact same joints, and garden beds lost water toward the course. A quarter inch dip where lawn sprinkler lines go across will telegram with pavers in a season. On a driveway, tire courses are wider and much more predictable. On a sidewalk, every weak information is exposed.
Start with a site reviewed, not a shovel
Successful Walkway Paving Setup begins with a straightforward check out the site. Where does roof covering overflow go during a heavy rain, and where will meltwater refreeze in February? Do tree origins raise the existing surface, and are they from a species that will maintain pressing? What utilities run near to grade? I flag lawn sprinkler heads and shutoff boxes, stroll after a tube examination, and mark high spots I wish to reduce rather than bury.
String lines and repaint assistance, but your eye is the best tool. Stand at the approach and think of strolling with an infant stroller or a hand truck. Doglegs can be softened currently with plan tweaks. A half hour of design job conserves days of problem changes later.
Excavation depth: the starting point tightfisted expenses you
I experience superficial digs more than any kind of various other blunder. For pedestrian pathways in modest freeze zones, I target 7 to 9 inches of excavation from last grade. That enables 4 to 6 inches of compressed base, 1 inch of bed linen sand, and a paver thickness of regarding 2 3/8 inches. In warm environments with steady soils you can favor the reduced end, however clay and frost demand more. Avoiding an inch of base does not seem like much until you realize it is 15 to 20 percent of the structure.
Soil type decides exactly how unrelenting you can be. Organic topsoil needs to go, all of it. If you leave dark, squishy pockets under the base, they will resolve when they dry out. In expansive clays, I commonly include a woven geotextile over the subgrade before base stone, a simple insurance that divides rock from mud and spreads load. It is affordable and it works.
Subgrade compaction is not optional
A tidy excavation still leaves loosened dirt. Run a plate paving drainage contractors compactor over the subgrade before the initial stone goes in. If your impact is little and gain access to is tight, a hand meddle is far better than nothing, however anticipate more negotiation. Wetness matters. Dry dust does not compact, it squashes. A light haze brings fines with each other and allows the plate do its job. You are aiming for a firm, unyielding subgrade that does not track underfoot.
Choose the ideal base rock, then portable in lifts
Crushed stone with penalties, often identified as 3/4 inch minus or dense graded aggregate, secures under compaction. Spherical crushed rock never ever stops relocating, so it has no place under interlacing pavers. Set up the base in a couple of lifts, each concerning 2 inches loose, then small each lift until the plate modifications tone and the surface stops shaking. If you require a number, lots of pros describe 95 to 98 percent of modified Proctor density, yet in the field you discover the feel. A plate that leaves ripples is underpowered or the lift is as well thick.
I ran a tiny staff that worked city alleys where accessibility was limited and residents were viewing. We verified to cynical neighbors that the base was tight by dropping a 30 extra pound plate on side from knee elevation. On ended up lifts, it bounced. On loose lifts, it bit and remained. Primitive, yes, but it shut down disagreements and maintained criteria high.
Slopes and drain: respect water or reconstruct following year
Set a minimal slope of 2 percent away from frameworks, which is a quarter inch per foot. On a 5 foot large walk, that implies at the very least 1.25 inches of loss from house side to yard side. Much less, and water lingers in joints and under the pavers, softening the bed linens and inviting winter season heave. Extra, and strolling can really feel tilted, which matters on icy days or with rolling equipment.
If the landscape leaves you no gravity electrical outlet, take into consideration a linear drainpipe at the reduced edge or a drywell that accumulates and distributes water away from the course. Hidden downspout lines that imagine throughout your excavation will threaten the base in time. Reroute them now, or you will find a trench through your once-flat pathway in two winters.
Edging: peaceful hardware that does heavy lifting
Interlock is not magic. Pavers need confinement. Plastic or light weight aluminum side restraints established on the compacted base, not on the bed linens sand, hold shape versus seasonal cycles and foot traffic. Spike them every 8 to 12 inches with 10 inch spikes, tighter on contours. Forgetting or skimping on bordering is the quiet factor patterns creep and joints open. If you like a poured concrete visual, location it versus the compressed base with adequate size and rebar where frost is a worry. I avoid tight mortared sides for lengthy curves, they split and after that pinch the field.
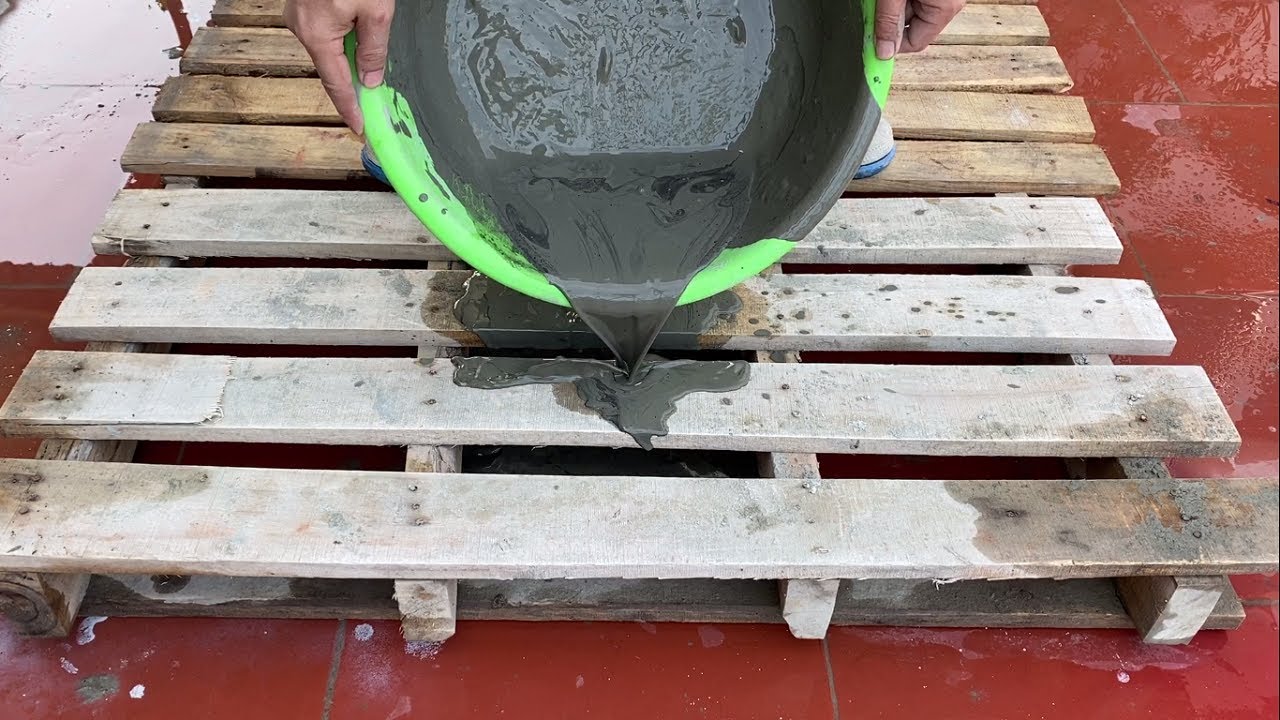
Bedding sand: one inch indicates one inch
The bedding layer is not a cushion, it is a leveling plane. Screed a true one inch of sharp concrete sand or ASTM C33 sand over the compacted base. Do not utilize stone dust or screenings as the bed linen layer. They hold water, pack also hard, and can pump under load, becoming a slurry during hefty rains. The need to feather sand to no at transitions lures numerous installers to lay thicker sand or to drift pavers into soft areas. Both choices bring about negotiation. If you should link to a fixed elevation, readjust base altitude, not the bedding.
Pattern alignment and soldier courses
A pathway welcomes your eye to adhere to the edges. Uneven boundaries or wandering pattern lines check out as sloppy even if the surface is flat. Establish a straight or delicately curving recommendation line with a string and gave up it. A border, occasionally called a soldier program, requires complete confinement and consistent expose. Reducing boundaries from field pavers can work, yet it is very easy to end up with slivers. If your strategy presses you towards cuts much less than a 3rd of a paver, change the pattern or the size. I prefer a contrasting boundary color on long runs because it hides little variations and develops a framed look.
Cutting easily and managing joint width
Poor cuts do not just look poor, they broaden joints that then lose sand and assistance. Use a damp saw or a high quality stonework saw with a ruby blade. Dry reducing clouds the website and gets too hot blades, which slows you and deforms the cut. Maintain joint sizes tight and regular, commonly in the range of 1/16 to 1/8 inch for many interlocking systems, unless the manufacturer defines otherwise. When joints open to 1/4 inch or even more, you invite washout and weed growth.
I have actually taken care of courses where every corner stone was nibbled with a chisel. Those harsh sides gather polymeric sand externally during activation and leave an irreversible haze. A minute conserved in cutting expenses an hour in tidy up.
Using polymeric sand at the correct time, in the ideal way
Polymeric joint sand has actually altered maintenance cycles for the better, however it punishes rushing. Brush up the surface extensively before filling joints. Vibrate pavers with a plate compactor utilizing a protective pad to clear up sand right into the joints, then cover up and small again. Just when joints are filled and the surface area is spotless ought to you turn on with water. Use a soft shower, not a jet, in 2 to 3 light passes that completely damp the joints without pooling water. Flooding impacts polymers out and streaks the surface. Direct sunlight and warm pieces speed up activation, so readjust your timing. Cold weather requires longer cure times. Manufacturer directions differ, and I follow them closely.
Compaction technique for the area and the finish
Compact the pavers with a plate that has sufficient weight to move the area without babbling, and use a urethane pad to prevent scuffing. Work in overlapping passes, change direction, and do not avoid the sides. Many newbies portable once, fill sand, and call it done. I favor a preliminary pass on clean pavers, an initial sand fill, a second compaction, top up, then a last light pass. The duplicated resonance weaves the system with each other and drives sand more deeply.
Beware of over compaction on slim or delicate stone pavers. Some natural stones in the 1 to 1.5 inch variety require different handling than concrete interlock, including lighter makers or even rubber clubs on small patches, and they might not belong on frost active soils without a strengthened base.
Color mixing and whole lot control
Concrete pavers differ somewhat in between pallets. If you lay one pallet each time, shade banding will reveal across the path. Draw from three pallets simultaneously in a triangular rotation, specifically with tumbled or variegated blends. On a long, straight path, that mix is the distinction between a crafted, all-natural appearance and red stripes that shriek manufacturing haste.
Weather windows and season timing
Pavers decrease in numerous conditions, yet the invisible layers dislike extremes. Do not screed and lay bed linens sand in the rainfall. It turns to porridge and you will certainly chase quality all mid-day. In a similar way, scorching sun dries out sand ahead of you and makes joint activation challenging. In freeze period, the subgrade can thaw throughout the day and refreeze at night, which breaks bond and leaves a false feeling of density. If you should set up late in the year, see over night lows and secure your collaborate with shielded blankets over fresh polymeric joints.
Transitions to actions, limits, and driveways
Walkways touch frameworks. Where pavers satisfy a step or a threshold, prepare for expansion and drain. A tiny space with a versatile sealant at a door saddle keeps water out of the house framing. At driveway linkups, mix the paver slope so vehicles crest without scuffing, and match the base deepness to the larger lots class of a Driveway Paving Installment. For a guest automobile driveway on comparable dirts, I generally excavate 10 to 12 inches to enable 6 to 8 inches of compacted base, and I raise base stone quality control. Loaning driveway approaches for a sidewalk is seldom wasteful. Going the various other way is where failings start.
Accessibility, convenience, and code awareness
A gorgeous sidewalk that trips your visitors is not a success. Keep running slopes comfy. Avoid abrupt height adjustments between pavers, known as lippage. Go for a monotony tolerance around 1/8 inch over 10 feet for pedestrian comfort, tighter at doors. Where you expect rolling lots like wheelbarrows or carts, reduce joint widths and choose pavers with diagonal edges that direct wheels instead of capturing them. Regional codes might control increase and run near public walkways, frost security deepness for surrounding footings, or setbacks from building lines. Check once, mount once.
Planting beds and mulch are part of drainage
Mulch slides downhill in the initial storm and clogs joints at course edges. Edge your beds with a reduced aesthetic or set the paver edge an inch more than the nearby soil and mulch. Where grass meet the course, keep the completed paver altitude a little over grass so turf clippings do not clean in with every mow. Geotextile textile under mulch near the course decreases fines migration right into joints.
Tools that quietly elevate your game
You can lay a tiny course with a shovel, two pipelines, a straight side, a hand meddle, and a saw. A few upgrades spend for themselves in time and high quality. A small plate compactor with sufficient mass to issue, a urethane pad, multiple-use screed rails, and a damp saw with a tidy water supply make a visible difference. I keep a stiff 6 foot level for fast quality reviews, and a laser when the course crosses intricate surface. A simple rubber paver mat under your knees maintains you from hurrying throughout layout and block placement.
Common shortcuts that backfire
Cutting corners looks efficient until you review the site. I have actually seen installers avoid edge restraints since the border abutted a yard bed, just to get a service warranty call when the boundary sneaked an inch into the compost. I have actually seen bed linens sand laid thick to speed up leveling, after that saw the pavers resolve everywhere hefty feet landed. A staff that blows off the surface before polymeric activation saves 10 mins and purchases a long-term haze. The pattern repeats: time conserved throughout setup appears of upkeep later.
Maintenance preparation starts at installation
If you define a light tinted paver under a leaf-dropping tree, you will be called around spots every autumn. If you position a walkway in a reduced, shaded area, moss will certainly discover it. Choose pavers and sealers with the life of the website in mind, and clarify to the owner how to maintain joints and clean surfaces. A mild annual rinse, a top up of joint sand every few years where traffic is heavy, and a fast weed pluck edges protects against pricey overhauls. Leave a single spare box of pavers in the garage in instance a future plumbing opens up a trench.
When the task changes from sidewalk to driveway standards
Some pathways function as solution paths for lawn mowers or delivery carts. If you anticipate anything heavier than normal foot website traffic, bump the construct. Take into consideration thicker pavers, a more powerful base, and added side restriction. Obtain straight from Driveway Paving Installment techniques for any type of location that can see a car, also if that is rare. A site visitor who parks 2 wheels on your garden course must not break your work.
Hiring aid or going DIY
Many house owners can deal with a tiny, straight-run sidewalk if they hold your horses and information oriented. The very first job will take two times as long as you expect. Generate a professional if the plan consists of intricate curves, stairways, or severe water drainage challenges. Specialists include value you do not see, like reading dirt in a shovel scoop and discovering the water line that should be sleeved before compaction. If you work with, ask to see a job that is at least 3 winter seasons old. New job constantly looks excellent. Age discloses craft.
A small pre-install checklist
- Confirm incline away from structures at roughly 2 percent and establish recommendation lines.
- Mark and shield utilities, irrigation, and origins to be preserved.
- Excavate to accommodate base, bed linen, and paver density, after that portable subgrade.
- Install edge restraint on the base, not sand, and risk appropriately.
- Screed a real one inch bed linens layer with tidy concrete sand.
Troubleshooting indicators and what they typically mean
- Wavy surface within a year frequently points to not enough base depth or bad compaction in lifts.
- Puddles after light rainfall suggest inadequate slope or anxieties from thick bedding sand.
- Border drift into beds generally shows missing or improperly anchored side restraint.
- Joint sand loss and weeds expose vast joints, inappropriate polymeric activation, or drainage cleaning throughout the surface.
- Color banding along the length of the course normally suggests pallets were not blended during installation.
A quick instance instance from the field
We developed 2 sidewalks on the same block in late springtime. One property owner desired a fast, cost-effective refresh over a resolved crushed rock path. The other approved a proper excavation and base. The very first had 3 inches of compressed base and a generous bed linens layer to conceal subgrade irregularities. The second had 6 inches of base in compacted lifts, geotextile over a clay subgrade, edging laid on the base, and very carefully triggered polymeric sand. By November, leaves stained both paths just as, however just one held a puddle where the mail provider stepped all summertime. After a winter with 3 freeze thaw cycles and a February rain, the fast work revealed a superficial trough and a gapped boundary near the bed. The far better construct still reviewed like a single aircraft from action to suppress. Same brand of paver, very same pattern, various respect for the unseen layers.
The silent throughline: measure twice, small three times
Interlocking systems are forgiving if you appreciate the basics. Most failures I see are not exotic. They come from shallow digs, loosened bases, lacking bordering, careless inclines, and hurried sand job. When you deal with a sidewalk like a system instead of a veneer, it serves for years. Set the grade for water, separate soils from rock, small in sincere lifts, constrain the field with proper edging, maintain bed linen sand slim and true, and activate joints with care. Those are not trade keys, simply good routines you can defend with your body of work three winters from now.